Images can improve the design and the appearance of a web page.
ਤਸਵੀਰਾਂ ਇਕ ਵਧੀਆ ਵੈੱਬ ਸਾਈਟ ਦਾ ਅਹਿਮ ਹਿੱਸਾ ਹੁੰਦੀਆਂ ਹਨ। ਤਸਵੀਰਾਂ ਵੈੱਬ ਪੇਜਾਂ ਨੂੰ ਆਕਰਸ਼ਕ ਬਣਾਉਦੀਆਂ ਹਨ। ਤਸਵੀਰਾਂ ਨੂੰ ਵੈੱਬ ਪੇਜਾਂ ਉੱਪਰ ਬਟਨਾਂ ਦੀ ਤਰ੍ਹਾਂ ਵੀ ਵਰਤਿਆ ਜਾ ਸਕਦਾ ਹੈ। HTML Documents ਵਿਚ ਤਸਵੀਰਾਂ ਦੀ ਵਰਤੋਂ ਕਰਨ ਲਈ ਸਾਨੂੰ ਉਹਨਾਂ ਸਬੰਧੀ ਕੁੱਝ ਮੁੱਖ ਗੱਲਾਂ ਸਬੰਧੀ ਜਾਣਕਾਰੀ ਪਤਾ ਹੋਣੀ ਚਾਹੀਦੀ ਹੈ।


ਵੈੱਬ ਪੇਜ਼ ਵਿੱਚ ਤਸਵੀਰ ਦਾਖਲ ਕਰਨ ਲਈ ਅਸੀਂ HTML Document ਵਿਚ <img> tag ਦੀ ਵਰਤੋਂ ਕਰਦੇ ਹਾਂ। <img> tag ਇਕ ਅਨਪੇਅਰ/ਐਂਪਟੀ tag ਹੈ, ਜਿਸ ਦਾ ਅਰਥ ਹੈ ਕਿ ਇਸਦਾ ਕੋਈ closing tag ਨਹੀਂ ਹੁੰਦਾ। ਵੈੱਬ ਪੇਜ਼ ਵਿੱਚ ਤਸਵੀਰ ਦਾਖਲ ਕਰਨ ਲਈ ਹੇਠ ਲਿਖੇ ਬੁਨਿਆਦੀ Syntax ਦੀ ਵਰਤੋਂ ਕੀਤੀ ਜਾ ਸਕਦੀ ਹੈ।
<img src="image_url">
ਇਸ Syntax ਵਿੱਚ src attribute <img> ਟੈਗ ਦਾ ਇੱਕ ਜਰੂਰੀ attribute ਹੁੰਦਾ ਹੈ ਜਿਸ ਦਾ ਪੂਰਾ ਨਾਂ ਸੋਰਸ (Source) ਹੈ। ਹਰੇਕ Image ਟੈਗ ਵਿਚ ਇਕ src attribute ਹੁੰਦਾ ਹੈ ਜੋ ਵੈੱਬ ਬ੍ਰਾਊਜ਼ਰ ਨੂੰ ਇਹ ਦੱਸਦਾ ਹੈ ਕਿ ਉਹ ਤਸਵੀਰ ਜੋ ਅਸੀਂ ਵੈੱਬ ਪੇਜ਼ ਵਿੱਚ ਪ੍ਰਦਰਸ਼ਿਤ ਕਰਨਾ ਚਾਹੁੰਦੇ ਹਾਂ, ਕਿਥੋਂ ਲੱਭਣਾ ਹੈ। "Image_Url" ਉਸ location ਨੂੰ ਦਰਸਾਉਂਦਾ ਹੈ ਜਿੱਥੇ ਤਸਵੀਰ ਨੂੰ ਸਟੋਰ ਕੀਤਾ ਗਿਆ ਹੈ।
HTML Images Syntax
The HTML <img> tag is used to embed an image in a web page.
Images are not technically inserted into a web page; images are linked to web pages. The <img> tag creates a holding space for the referenced image.
The <img> tag is empty, it contains attributes only, and does not have a closing tag.
The <img> tag has two required attributes:
- src - Specifies the path to the image
- alt - Specifies an alternate text for the image
Syntax
<img src="image_url" alt="alternatetext">
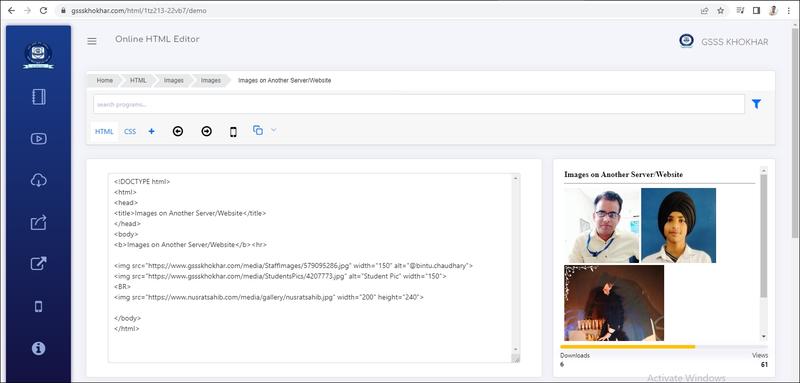
The src Attribute
The required src attribute specifies the path (URL) to the image.
Note: When a web page loads, it is the browser, at that moment, that gets the image from a web server and inserts it into the page. Therefore, make sure that the image actually stays in the same spot in relation to the web page, otherwise your visitors will get a broken link icon. The broken link icon and the alt text are shown if the browser cannot find the image.
Example
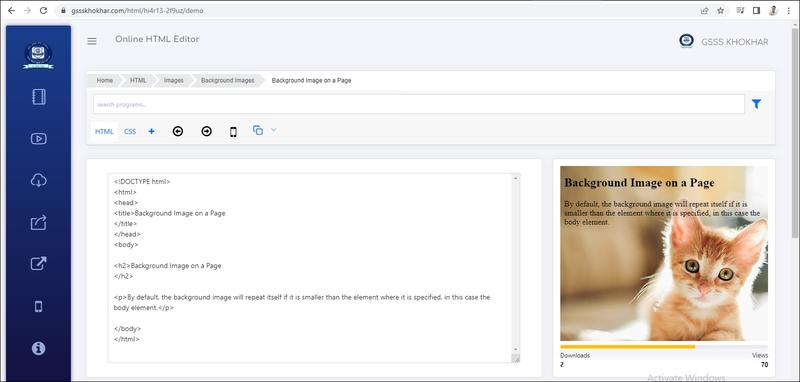
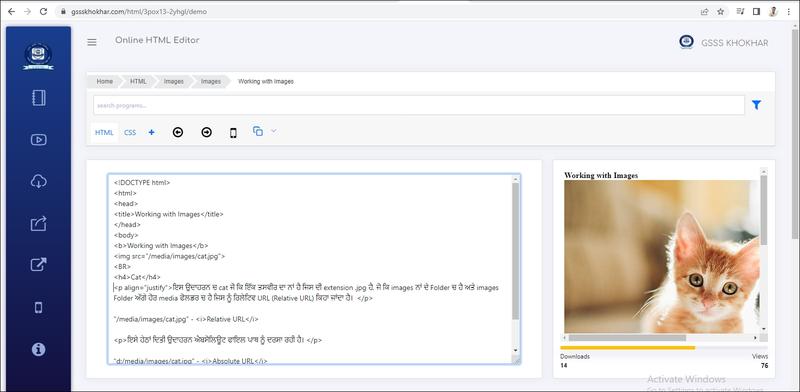
<img src="cat.jpg" alt="cat">
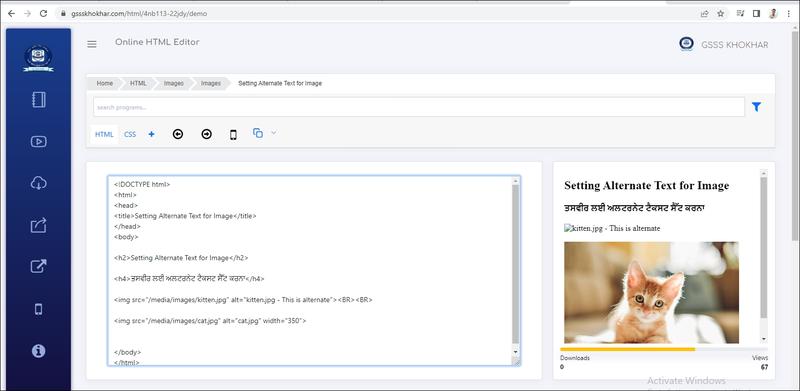
The alt Attribute
The required alt attribute provides an alternate text for an image, if the user for some reason cannot view it (because of slow connection, an error in the src attribute, or if the user uses a screen reader).
The value of the alt attribute should describe the image:
Example
<img src="cat.jpg" alt="cat">
If a browser cannot find an image, it will display the value of the alt attribute:
Output
Live Demo & Try it yourself!
Common Image Formats
Here are the most common image file types, which are supported in all browsers (Chrome, Edge, Firefox, Safari, Opera):
| Abbreviation | File Format | File Extension |
|---|---|---|
| APNG | Animated Portable Network Graphics | .apng |
| GIF | Graphics Interchange Format | .gif |
| ICO | Microsoft Icon | .ico, .cur |
| JPEG | Joint Photographic Expert Group image | .jpg, .jpeg, .jfif, .pjpeg, .pjp |
| PNG | Portable Network Graphics | .png |
| SVG | Scalable Vector Graphics | .svg |
Note: Loading large images takes time, and can slow down your web page. Use images carefully.